
Last week we embarked on a new venture – The Dark Side Challenge.
The eventual goal of the challenge is to build a robot that can autonomously navigate through a terrain where radio contact is sporadic or even impossible – just as if it were on the dark side of the Moon or somewhere even farther away.
While achieving that goal, the challengers are learning to program and debug embedded devices and sensors, to imagine, reason and persevere, understand how to properly balance machine intelligence with human interaction. The youngest ones are even learning the alphabet – both in capital and small letters!
The first steps are all about teaching fundamentals, but soon we hope to remotely program robots at the other end of the planet and invite others to do the same with the ones we have in our classroom.
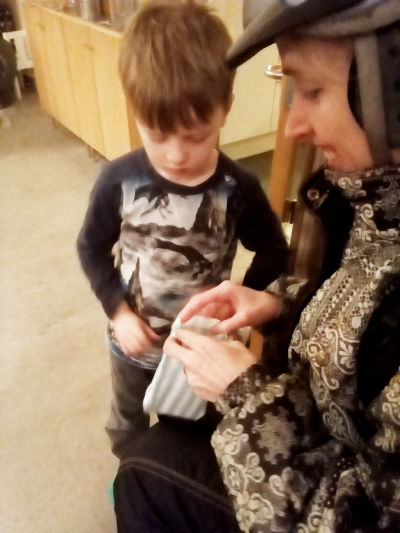
The first session was about… sewing. In order to protect their small computer, the children needed to manufacture a small protective pouch. Once they had sewn the pouch, they were given an Uno R3 board (Arduino clone) together with a printed sticker with their name on. The board is personal, it’s theirs, as we believe that the sense of ownership will spur motivation.
As a part of the session, the children were explained what the board can be used for: sensing things such as light, heat, humidity. They learned about ultra-sound and distance, motors and drivers and about hacking remote controls.
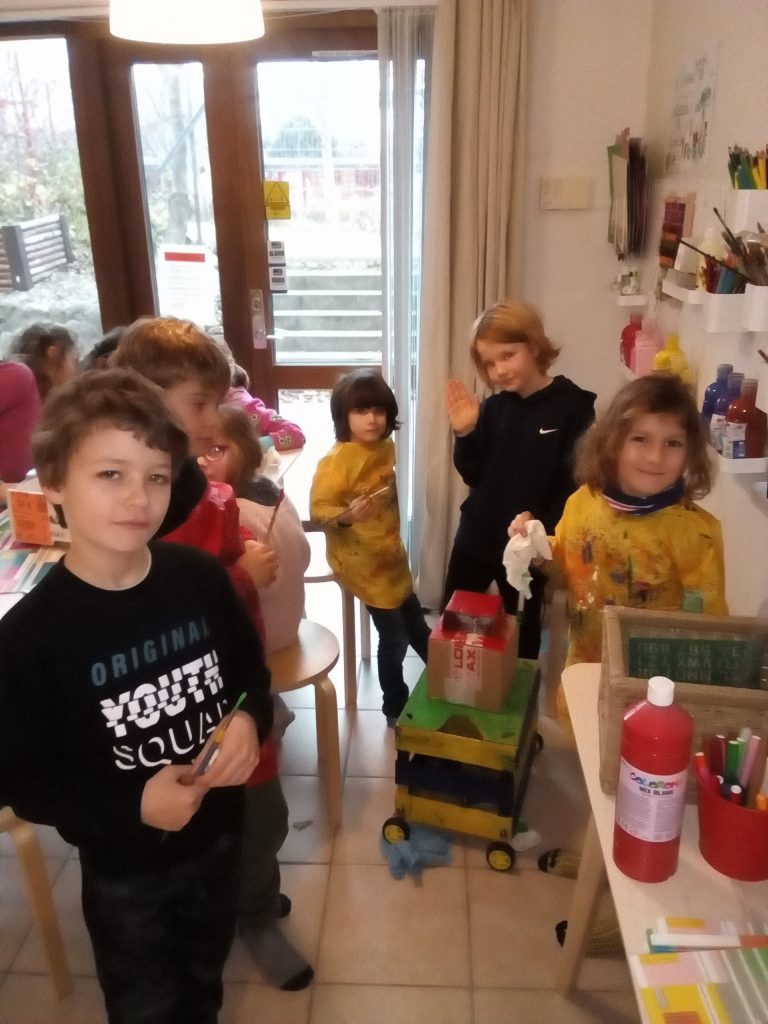
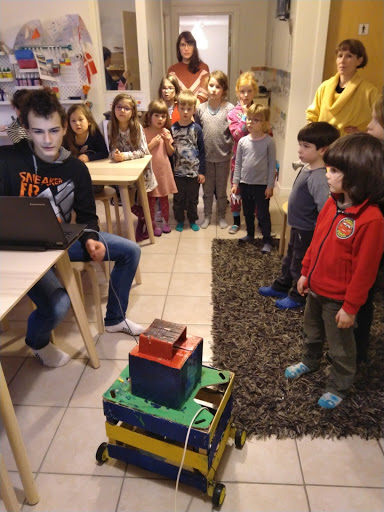
Some of the boys had converted a wooden vegetable box from Årstiderne to a rover with four motorized wheels. The robot could move autonomously after being fed a program consisting of a sequence of the letters w, s, a, d (forward, back, left, right) via the Uno’s serial interface. This was done using a program written by one of the older pupils.
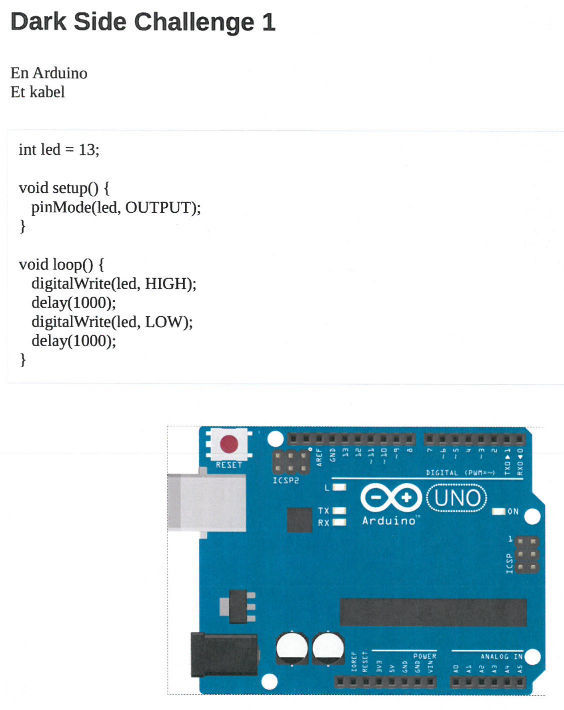
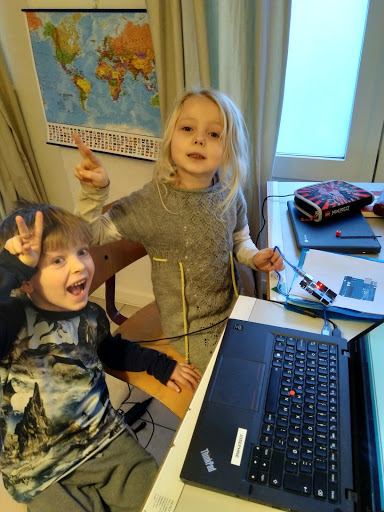
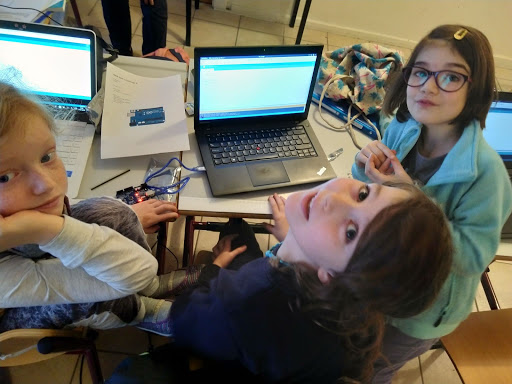
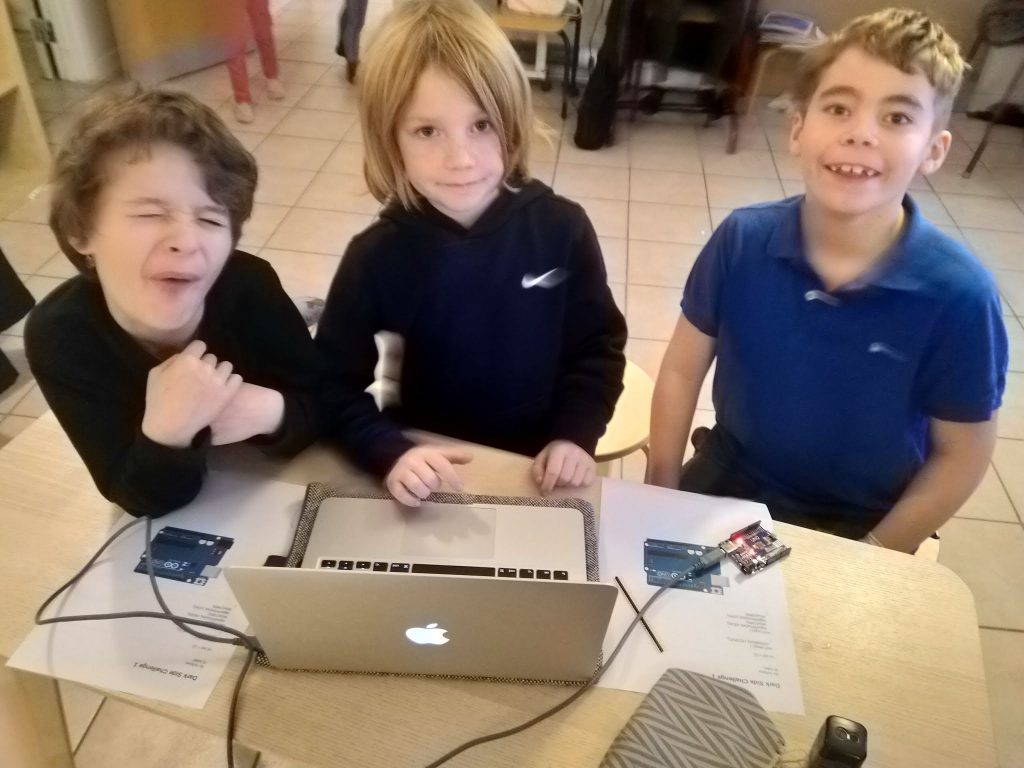
The second session was about actual programming. The children were handed a sheet with a short program that would make the Uno’s built-in LED blink. For the small ones (aged 5-6), just finding the (capital) letters on the keyboard was a challenge, and even more so were the parentheses, curly braces and semi-colon.
A part of the lesson consisted of installing the Arduino IDE – a simple apt-get install arduino on the Linux machines and a download from the Arduino software page for Windows and Mac. The page is somewhat hard to find, as Arduino unfortunately now seem to be promoting their web-based IDE.
The older ones (6-8) did the exercise at varying speeds, most of them in groups of 2-3 and we needed to improvise some follow-up exercises:
- make the blinking faster. This is achieved by decreasing the delays (and not increasing them). Suggested values could be 500ms, 50ms, 25ms.
- make the LED blink an SOS, like the Titanic sent just before sinking.
- shorten the code in the SOS exercise by using for loops.
In the programming session, 9 girls and 5 boys participated.
In the next session we have planned that they will be adding another LED to the board and have both LEDs blink. In that context they will get the opportunity to fry a LED by connecting it directly to a battery (without a resistance) – motivating why it’s relevant to understand Ohm’s law (V=RI) and the power law (P=VI).
Progress of the project can be followed on hackaday.io.